20 Fun Details About Handle Fixing


Handle Fixing: A Comprehensive Guide
Handles, whether on doors, cabinets, or drawers, are necessary parts in everyday life. They serve not only practical functions, enabling easy access to various spaces and storage systems, however likewise provide a visual appeal to home decoration. Nevertheless, with time, handles can become loose, broken, or totally removed due to wear and tear, poor installation, or ecological aspects. This in-depth short article aims to direct you through the process of fixing handles, addressing common issues while offering useful tips and preventive steps.
Comprehending Handle Types
Before diving into fixing handles, it's important to comprehend the various kinds of handles that a person might encounter. This knowledge can help determine the issue and choose the proper repair method. Here are some common types of handles:
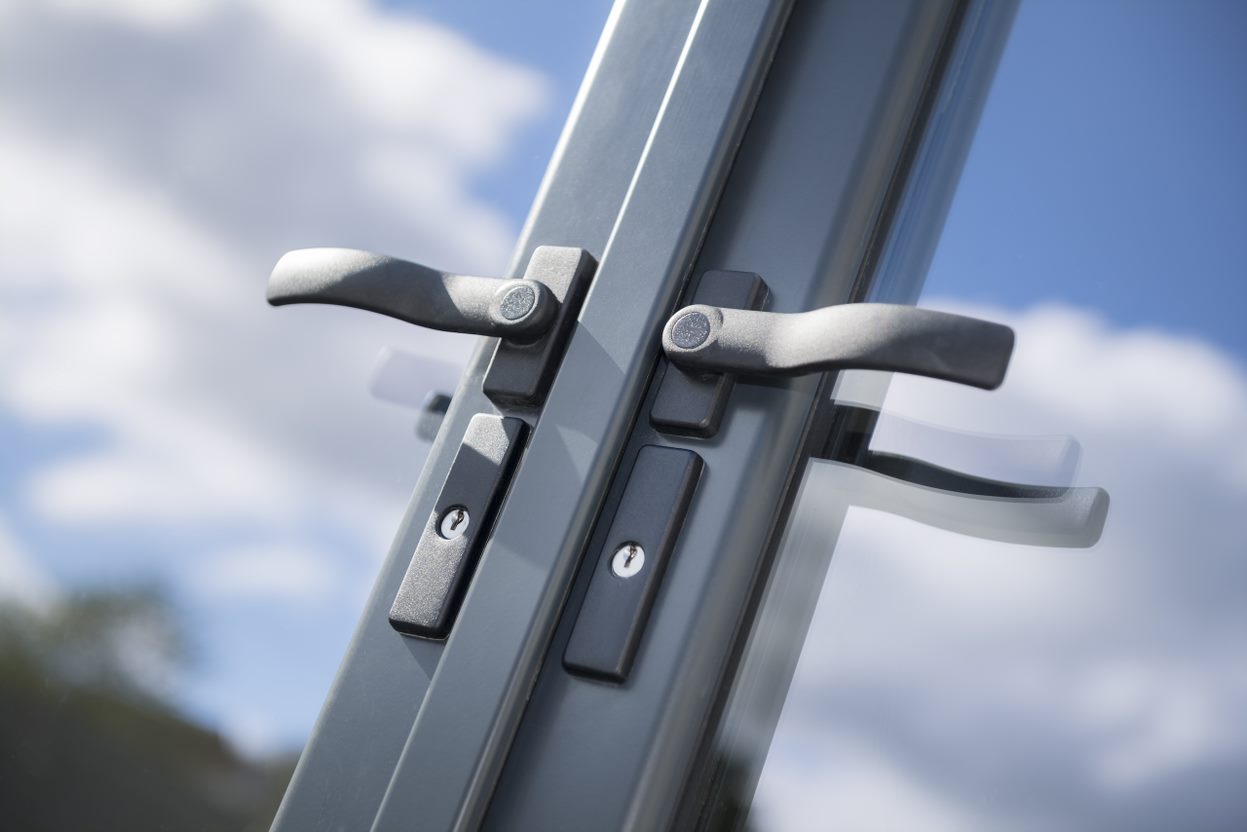
- Door Handles: These can be lever types or knob types, frequently discovered on entrance doors and interior doors.
- Cabinet Handles: Often made from metal or plastic, these handles offer access to kitchen cabinets, bathroom vanities, and other storage units.
- Drawer Pulls: Similar to cabinet handles, drawer pulls can be decorative and functional, permitting access to drawers in numerous pieces of furnishings.
Common Problems with Handles
Numerous issues can accompany handles, and acknowledging these can help in quick diagnosis and repair. Common problems consist of:
- Loose Handles: This is often brought on by used screws or brackets that no longer hold safely.
- Broken Handles: Severe damage can happen from extreme force or ecological wear, necessitating replacement.
- Rust: Metal handles may reveal signs of rust, particularly in damp environments, damaging their structural stability.
- Positioning Issues: Improper installation may lead to misalignment, making handles uneasy to use.
Tools and Materials Needed
To guarantee a smooth handle-fixing process, it's important to collect the following tools and products ahead of time:
- Screwdrivers: Both flat-head and Phillips screwdrivers are often required.
- Replacement screws: Depending on your handle type, having a choice of screws can be useful.
- Pliers: These can help grip and control stubborn screws.
- Wood glue or epoxy resin: For fixing broken handles, specifically wooden ones.
- Sandpaper: If handling wood, sandpaper can smooth rough edges before using glue.
- Lubricant: For squeaky or sticking handles, lubrication might be essential.
Step-by-Step Handle Fixing Guide
Fixing Loose Door Handles
- Tighten Screws: Using the best screwdriver, inspect all screws connecting the handle to the door. In some cases, merely tightening them can fix the concern.
- Change Screws: If the screws are removed or harmed, replace them with new ones. Ensure they are the right size for a secure fit.
- Examine Internal Mechanism: If it's still loose, take apart the handle and look for internal issues. There may be local door handle repair within the handle mechanism.
Repairing Broken Cabinet or Drawer Handles
- Evaluate the Damage: Determine whether the handle can be fixed or if it requires to be changed.
- Use Wood Glue: For wood handles, use wood glue to the broken location. Clamp the pieces together till the glue sets (normally about 30 minutes to an hour).
- Screw Replacement: If screws have actually come loose, replace or reinforce them. Ensure all accessories are securely fastened.
- Consider Replacement: If damage is extensive, maybe it's time to select a brand-new handle that matches your design.
Resolving Alignment Issues
- Loosen the Handle: Start by entirely loosening the handle from the door or cabinet.
- Realign the Handle: Position the handle properly. Ensure that it lines up with the mounting holes.
- Reattach Securely: Once lined up, thoroughly reattach the screws and tighten them without overtightening, as that can cause other issues.
Preventive Measures
To prolong the life of your handles and avoid issues from happening beyond repairs, consider these preventive steps:
- Regular Maintenance: Periodically inspect the tightness of screws and general condition of handles.
- Usage Appropriate Force: Avoid pulling or yanking handles excessively, especially on vulnerable cabinets or old doors.
- Keep Dry: For metal handles, keep them dry to avoid rust. Clean away wetness promptly.
- Lubrication: Apply lube to moving parts of handles regularly to prevent sticking or squeaking.
Frequently Asked Questions About Handle Fixing
How do I understand if my handle requirements replacement?
- If the handle is considerably damaged or broken beyond repair, or if it's no longer practical even after tightening up and fixing, replacement might be the best alternative.
Can I fix a handle without professional assistance?
- Yes, most handle repairs can be done at home with standard tools, offered you follow the standards outlined in this short article.
What kind of glue is best for fixing handles?
- Wood glue is suitable for wood handles, while epoxy resin works well for plastic or metal. Select a glue that suits your handle's product.
How frequently should I inspect my handles?
- Preferably, check handles throughout your routine home maintenance routines, roughly every 6 months to a year.
Can I lube plastic handles?
- Yes, a silicone-based lubricant is safe for plastic handles and can assist maintain their performance.
Fixing handles is an important skill for homeowners and occupants alike, as it enhances both the performance and aesthetic appeals of your space. While it can seem overwhelming, comprehending the problem, collecting the right tools, and following a structured method can cause successful repairs. Whether handling loose door handles, broken cabinet pulls, or positioning issues, the steps provided herein equip readers with the understanding required to deal with such problems with confidence and effectively. Routine maintenance and preventive care will ensure handles remain practical and robust for many years, allowing everyone to delight in a beautifully kept home environment.